Burning … Mister Fleer
Why are clowns so scary?
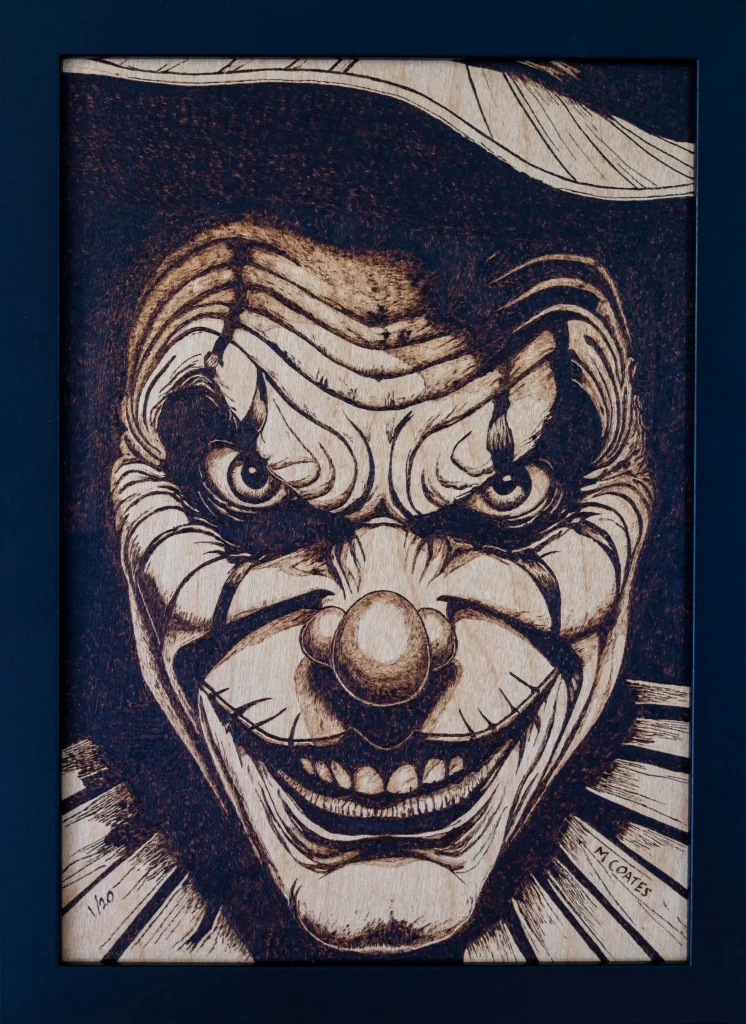
Clowns really seem to freak people out … so of course I’m going to make dark artwork of them!
Mister Fleer is my latest attempt to dip into the world of circus nightmares and horrific jesters. Hopefully he doesn’t visit your nightmares any time soon!
The Process
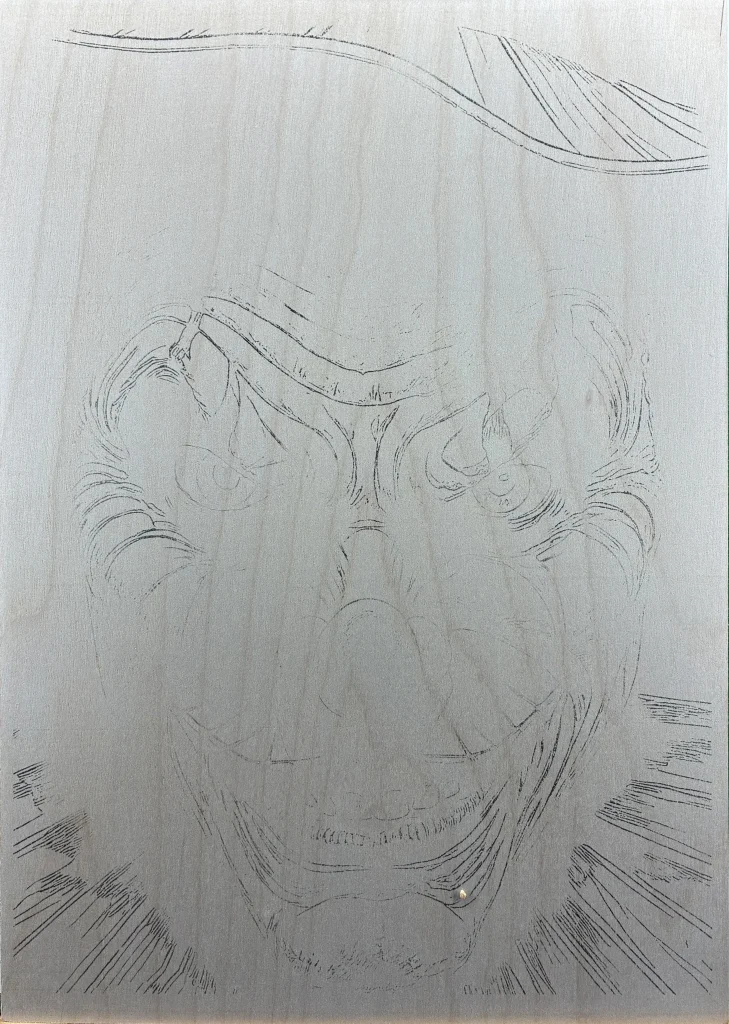
As with all pyrography, we start out with our basic rough outline.
Sometimes I transfer shading guidelines onto the plywood and in other instances I just work from lines that show where the darkest areas are to go – basic outline ‘tracing’. That’s the case here, some of the lines need to be very crisp, so I made the decision to only transfer those crisp lines and to interpret the shading more freely later on
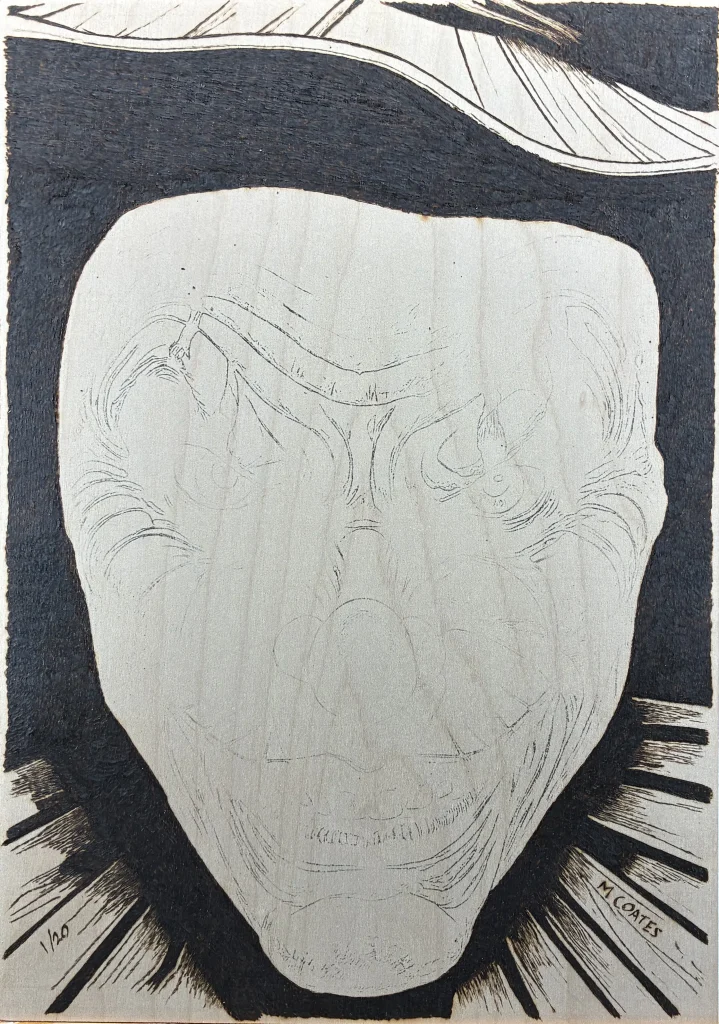
I always start my pyrography with the outlines and “known” heavy lines. I know some pyro-artists who start from the centre and work out and some who leap straight into shading – I prefer to get a feel for how the wood is reacting in areas that contain no details.
I fill in large areas, leaving a gap (like the one you can see around the outside of the face if there is any doubt as to where the final hard edges are to go. Here I’m concerned that there may need to be some fading around the clown’s face as I progress, so I leave a really generous blank area as a safety buffer.
I’ve added shading to the collar and also my “signature” and the edition identifier. The collar details don’t impact the final image in the same way as a nose or eye-shading, if they’re not identical to my reference image then nothing is ruined.
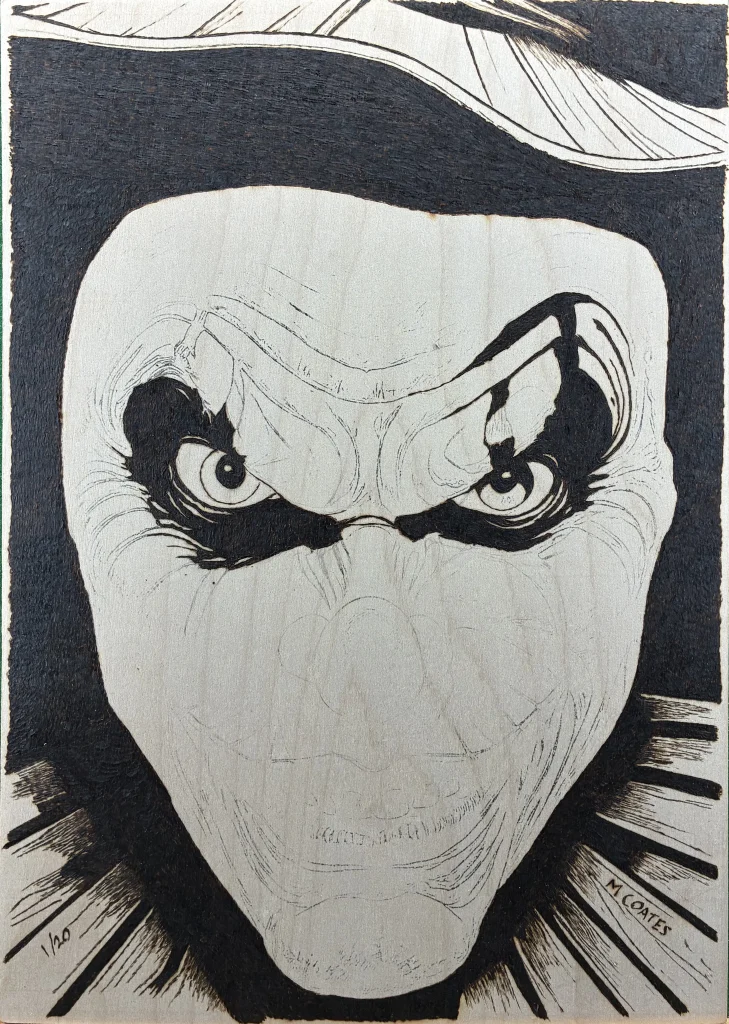
There are some details on the original image transfer that I can be confident about, so I’m tackling those next.
For Mister Fleer, there are some areas of black that are known and that will allow me to better position further details once they’re in place.
The eyes are going to dictate brow wrinkles, nose grooves and cheek creases, so I’ve put in some heavy shading to fix those in place. At this stage there are no details on the eyes themselves, I may need to adjust size and proportions, so I’ll leave them be for now.
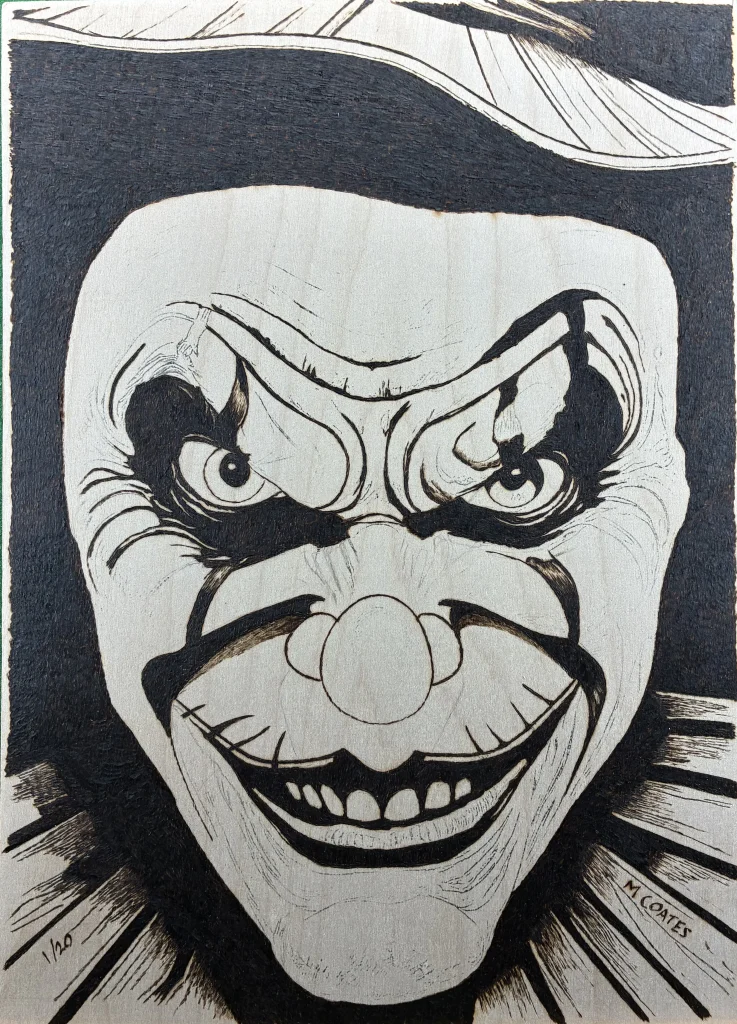
Having got the eyes in place I can work my way around the face, putting in rough details.
Having the eyes in place allows me to position the bridge of the nose, which gives me a reference for the position for the bulbous part of the nose. The mouth is relatively obvious from the original tracing so I add that next. The combination of mouth and nose giving me the reference for the cheek folds, which I need to interpret as they weren’t clear on my original transfer of the lines.
Adding brow creases really allows me to start shaping his sneer.
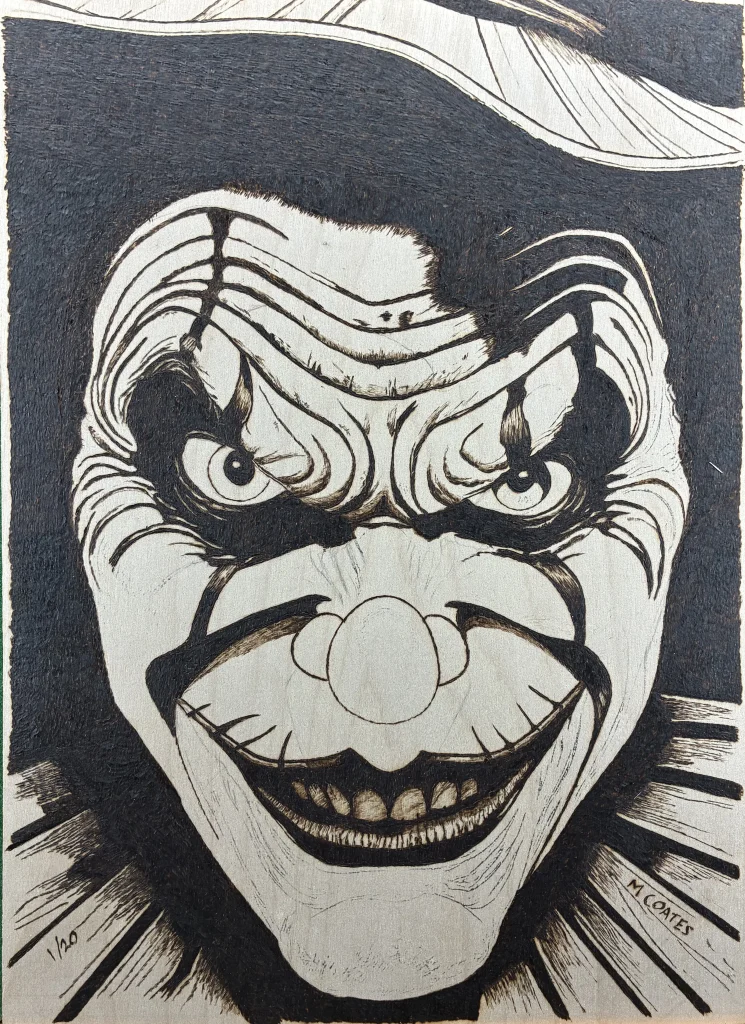
Further defining the brow creases from my reference image, I can see that it’s safe to add further black fill on the forehead. The result is that the face is starting to move more towards its final shape.
Preliminary shading of the lips and teeth add a depth to the mouth which will help me later on when creating the profile of the cheeks
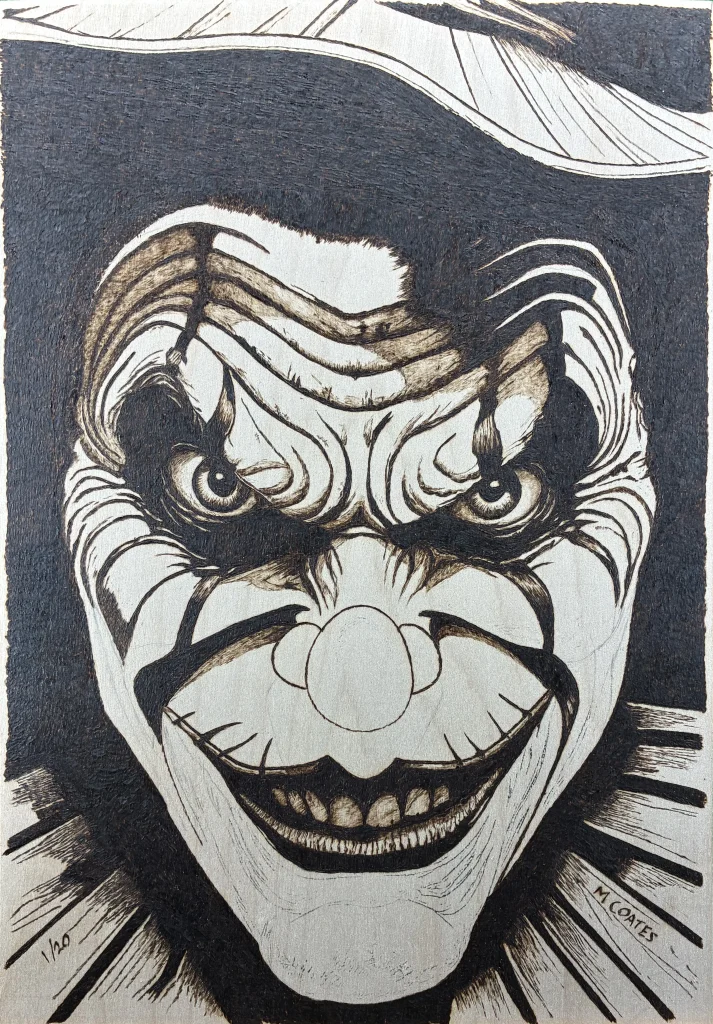
A lot of the final image is going to be shaded. The hat is casting a shadow, his face is deeply wrinkled and the impression that his skin is mottled needs to be conveyed … all using shading.
I decided to add shading around the eyes, the little folds of skin in the eye sockets need to be recessed. The eyes themselves have been given shape with a gradient to show that they are round and the pupils have been brought to life.
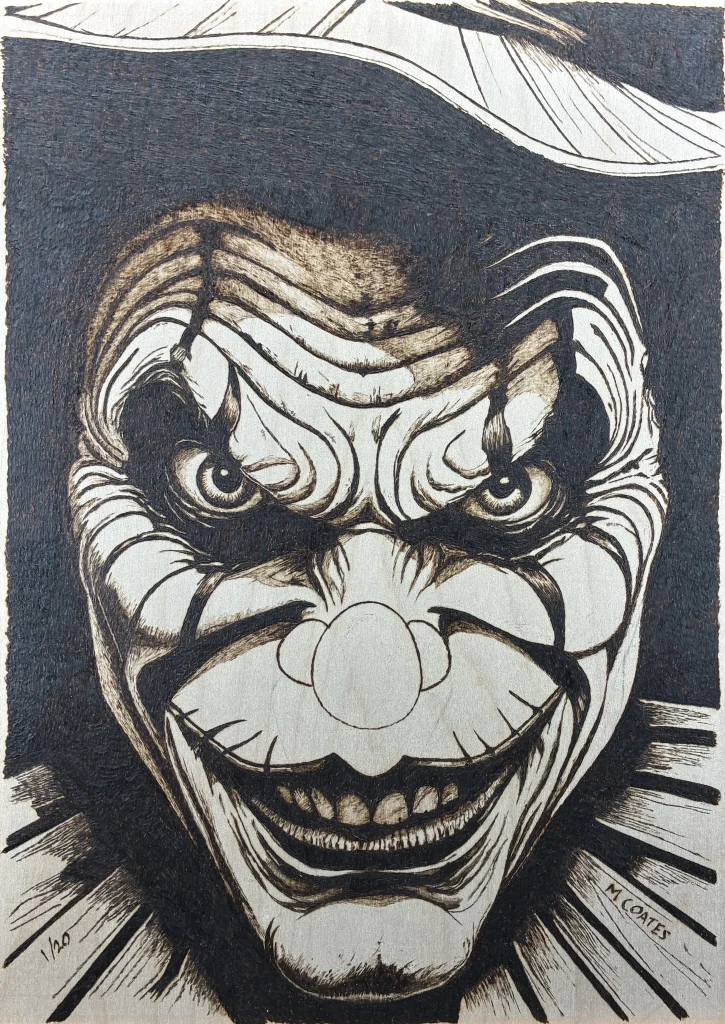
We’re getting into the home stretch now.
The Left hand side of the face has been brought into shape with heavy shading. The pointed chin has been created using dark shadows under the lower lip and the dimple has been created in the same way.
There are refinements to the jaw profile – little adjustments to the black fill in order to help with the sneer
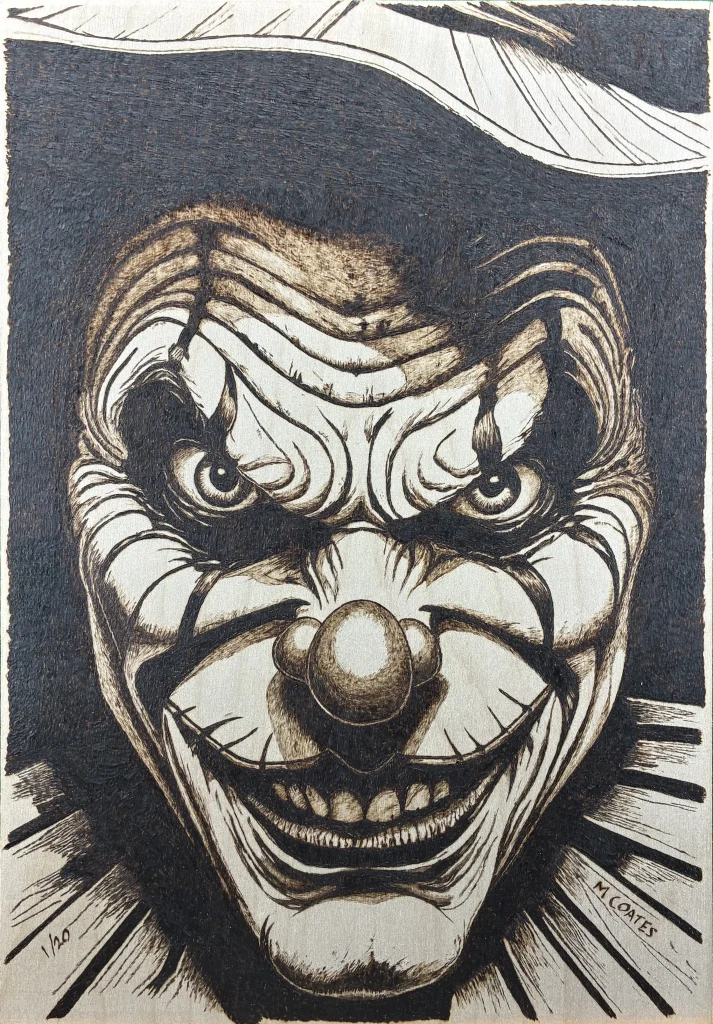
The bit that I left till very last was the nose. I needed to be utterly sure of how the wood was reacting to the wire nib before I tackled such a crucial gradient – it has to look shiny.
Gradient shading has been added, where necessary, to show the final contours of this charming chap’s face.
All that’s left to do is to add a varnish oil finish, give him in a frame and put him up on the site!